This site may contain affiliate links. If you make a purchase through the link, we earn a small commission at no extra cost to you. This commission helps fund the blog. We appreciate your support!
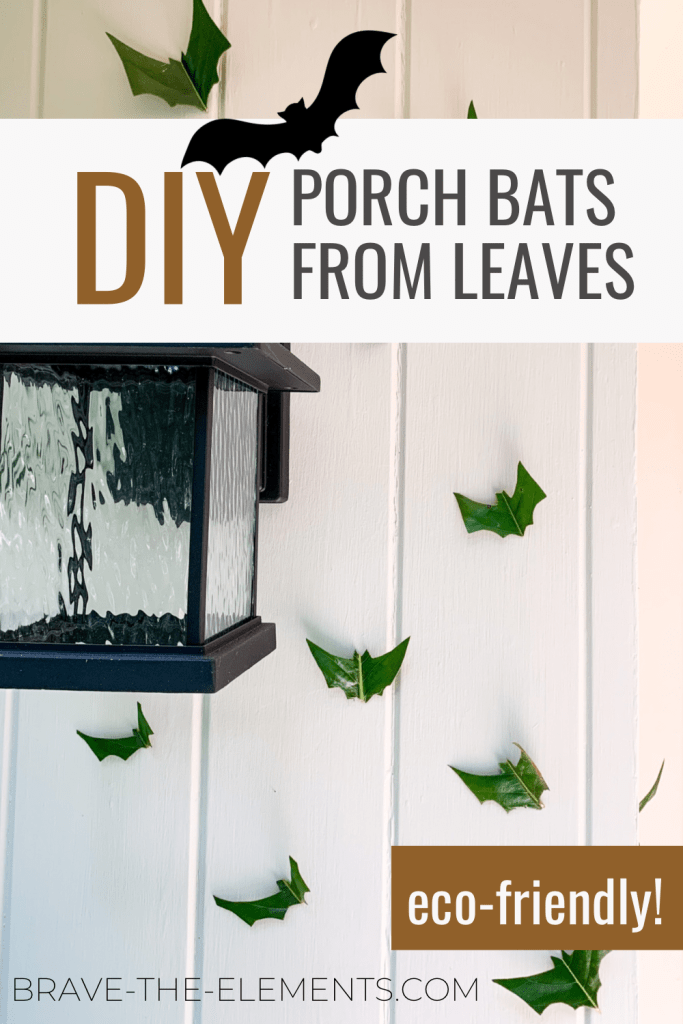
These leaf bats are actually one of my kid’s ideas. We use our giant magnolia tree’s leaves for crafts all year long, and her inspiration was some paper bats that we have in the house. The leaf version will only last a season but making them could become a great tradition every October.
How to make leaf bats- an eco-friendly halloween decoration
Leaf Bat Halloween Decorations
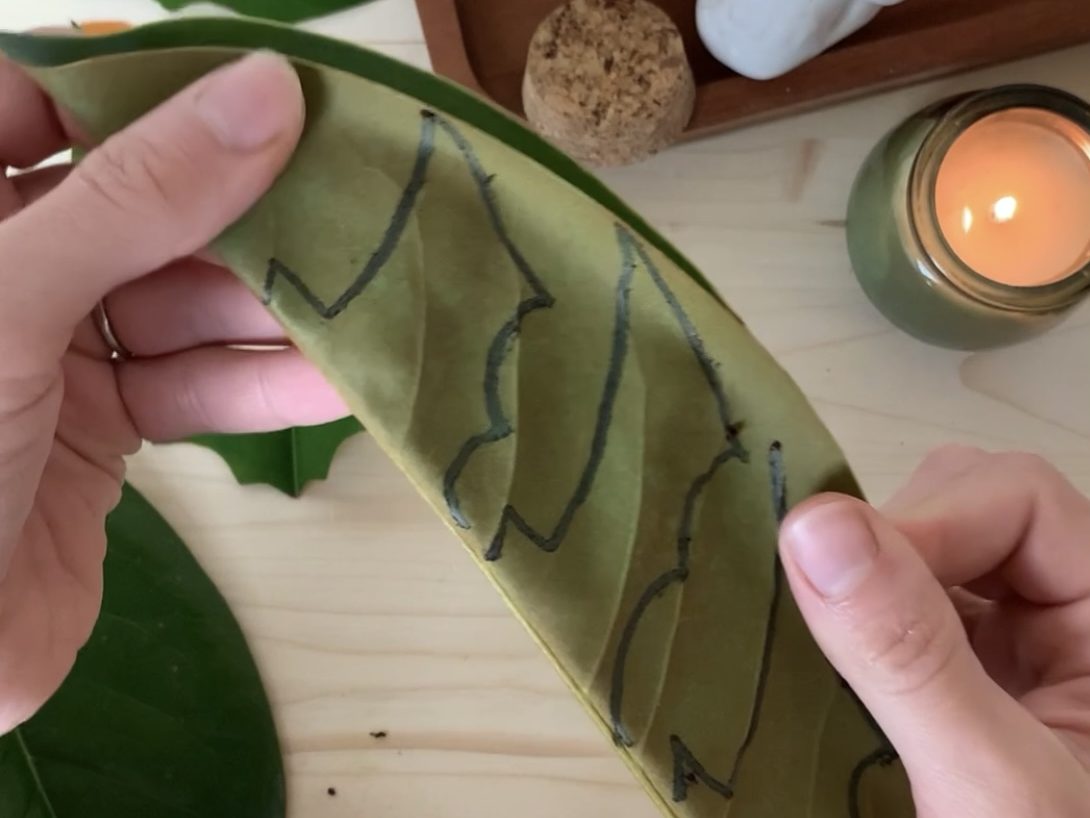
Find thick, waxy leaves, like from a magnolia or red oak, and let them dry (or find some from the ground that have dried somewhat. If you can’t find a tree with thick leaves, take any leaf (that is large enough to make a bat) and press it between the pages of a large book for a few days. If the leaf isn’t dry or pressed, it will curl up a few days after you cut it.
If the leaf is waxy, you might be able to fold it in half like I do in the picture below (if not just cut out the whole bat instead of half). Draw the shape of a half bat on the leaf as many times as will fit. Cut it out. Repeat for as many bats as you want.
Optional: paint the leaf bats black.
Hang on your wall with painters tape or sticky tack. To get the look of bats coming from a distance, place the smaller bats at the bottom of your design and the larger ones towards the top, and make the whole bunch fan out from the starting point.
Science!
-Bats are actually integral pollinators and hundreds of species of plants rely on them as primary pollinators.
-Bat are not blind! This is a common misconception to justify their amazing ability to echolocate, but bats actually have fantastic night vision. Recent research has even shown some bats can see well in the day time, and some even have the ability to see ultraviolet light! (PLoS One. 2009; 4(7): e6390)
-Bats can help in the management of mosquitoes. Take a look at installing bat boxes to welcome them onto your land.
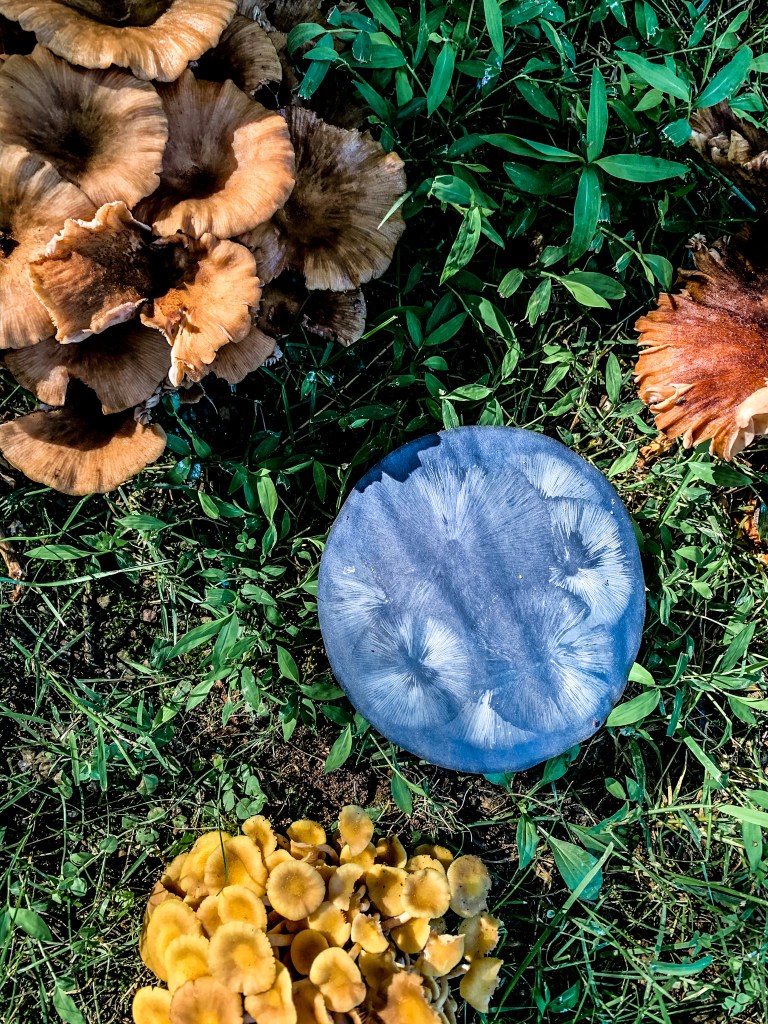
Spore prints are best made from fresh mushrooms found outdoors. They are a stunning way to observe and study nature. Learn how to gather, print, and preserve these delicate pieces of art.
Mushrooms are fascinating. They are pervasive in folklore and iconography, and evoke feelings that range from unnerving to adorable. I was once intimidated by mushrooms. I didn’t want to touch them and I was scared that my children would eat one. Then I moved to a property that was speckled with hundreds of mushrooms come the end of summer. Every step, we could point out a new variety and it was interesting and frightening and I was drawn in.
I decided that, like many other fears I’ve had in my life, the best way to deal with it is to learn more and study it. One of the first projects I did was taking spore prints because it required me to face my fear and touch them. Now after borrowing many books from the library, exposing myself to the world of mushroom hunting, and strolling our property for mushrooms every night in the late summer, I have a deep respect and mild obsession with these organisms. Let’s learn a bit about them.
I have this thing with plants. I dream of having a rainforest in my home one day, but until recently, I’ve had a pretty black thumb. I tried to grow many different house plants when I got my first place, but I killed every single one of them. From fungus gnat larvae bursting through the soil after I tried to set up a DIY home irrigation system from leftover LPLC parts, to hydrogen sulfide-producing bacteria in the soil of a philodendron making my little condo smell like the end-days of the Permian extinction, it was pretty much a comedy of errors.
Fast forward years later, I have about fifty different plants dotting our home- healthy, happy, and content. I didn’t raise these plants without problems though. For example, a snake plant and I battled a nasty (I mean NASTY) millipede infestation soon after I first bought it .
Plant motherhood is not all glamorous foliage, but the most important thing I learned is that you can’t just buy any plant at Home Depot, water the crap out of it, and expect it to thrive. You have to learn what each plant needs: soil type (airy, dense, sandy, etc), light (high, low, morning, etc), watering (drainage, frequency, dry depth, etc.), general care (humidity, cleaning, pruning, etc). In doing so, I’ve really come to appreciate every little thing about my plants, from the different types of variegation on each leaf to the climate where they were originally from.
The amazing teacher and science communicator, Naomi Volain, created a beautiful website called Plants Go Global to educate and raise awareness about plants to help solve our planet’s environmental problems. A part of this movement is appreciating the beauty of plants and fighting “plant blindness”- where the plants we see everyday just fade into the background of our view, not focusing on the importance, diversity, and striking beauty of them. I have combatted my own plant blindness by becoming a plant mom at home and outside, and I hope to pass this on to my kids by educating them on everything from house plants to vegetable gardens to plant anatomy and biodiversity. Visit the site for more information!
Recently, my snake plant was blown over by the wind from an open window and a long leaf snapped off. I decided to use it to make some new plants. The process is so simple that a three-year-old can do it (and she did). Read on below in the discussion for more about the science behind propagation through cuttings, and some tips to do this project with a child.
Materials
Products include affiliate links. You will not pay extra, but a small portion of your payment will go to keeping this site up and running! We appreciate your support.
Healthy mother plant
Pot or container with drainage
Proper rooting medium. This replaces soil for the time being (see below for why). The medium needs to be airy, light (not compact), well draining, non-nutritive, and moist. There are several ways to achieve this:
Method (How to make plant cuttings for propagation)
Put your cutting medium into the container.
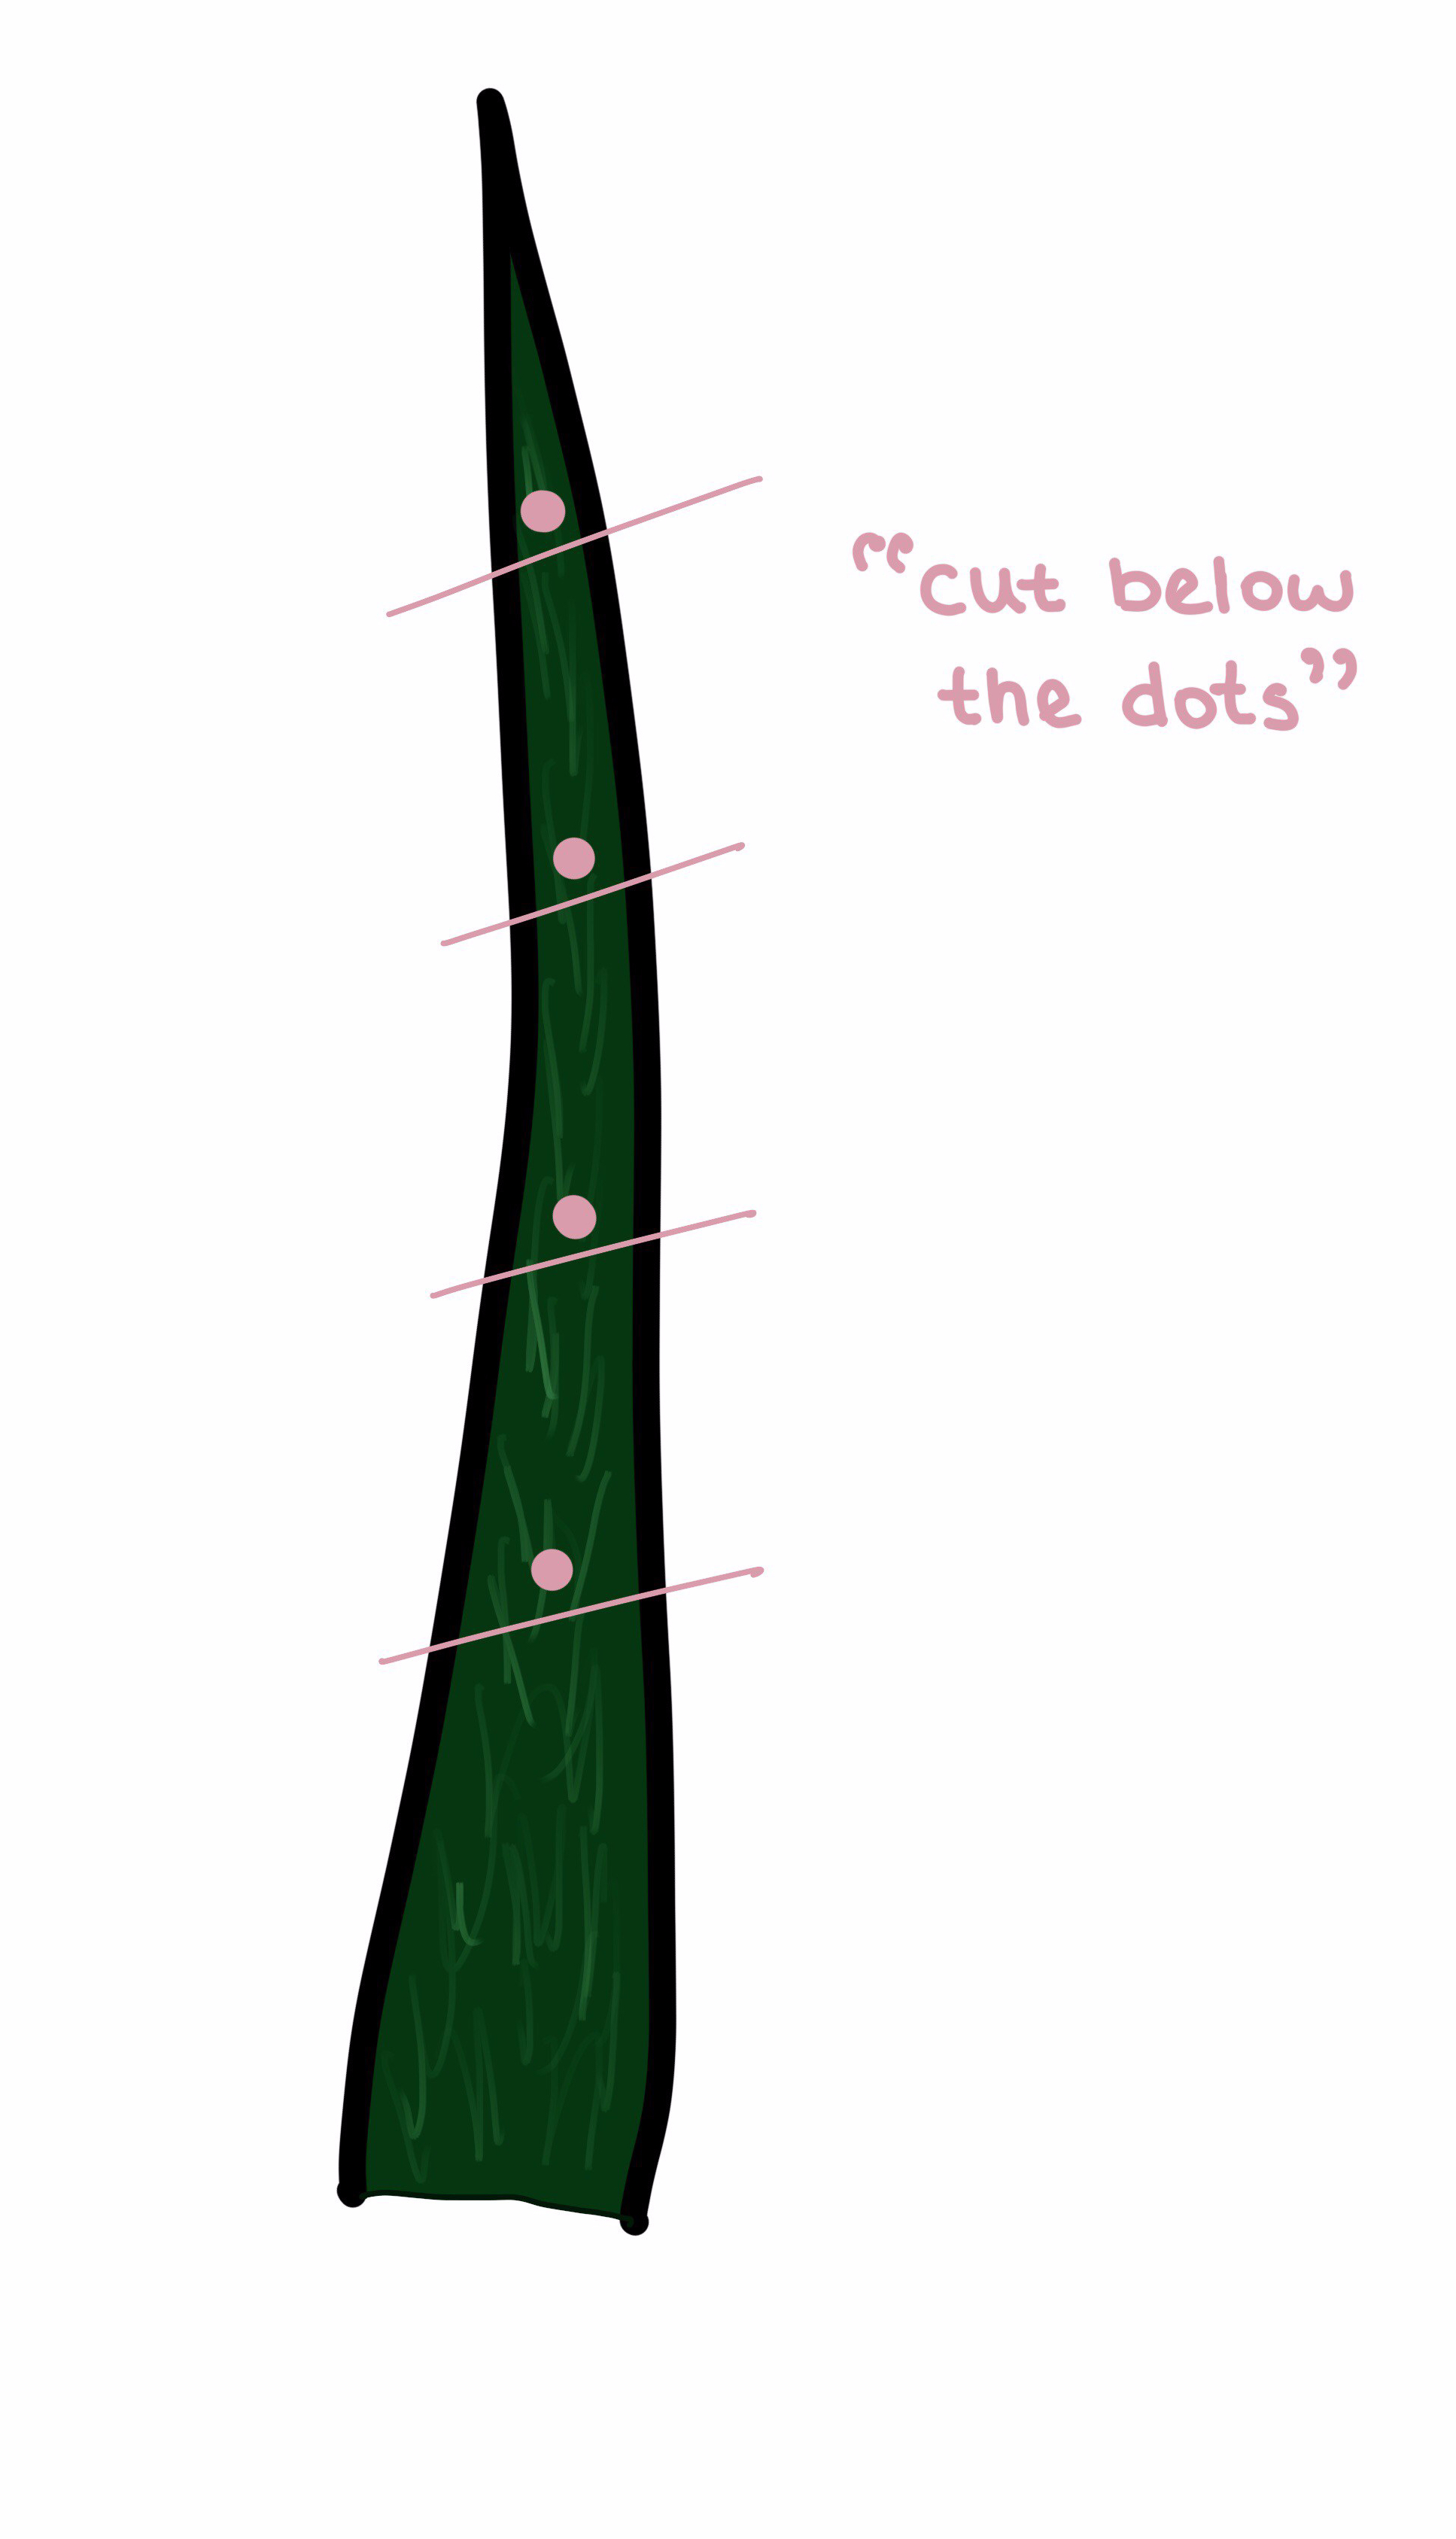
Lay the leaf down and mark a dot every 4-6 inches (see the image to the right).
Cut just below the dot with sharp scissors. If you’re doing this with a child, try to show them the picture or describe the process to them without doing it for them. It is a good exercise in following directions. Needless to say, be careful with scissors and young children.
Prepare holes for the cuttings to go into the potting medium (i.e. wiggle a pencil in there to make a line the shape of the leaf). This is so you don’t rub off the rooting hormone when you stick the cutting in there.
(Optional, though recommended) Dip the dot-side of the leaf into rooting hormone (see discussion section for what this is). I would do this step myself for younger children, but older ones can do it, just make sure they wash their hands afterwards. If you dip the wrong side in, it will not grow.
Put the cuttings into the pot, dot-side down, about 1.5 inches deep or so the leaf won’t tip over. If the wrong side gets put in the dirt, it will not grow (which is why the dots are helpful).
Water, then cover with a plastic bag to keep it moist.
Keep the medium moist and warm, and soon (2-10 weeks) you will have roots! To check, very very gently tug on the leaf. If there is resistance, you probably have roots.
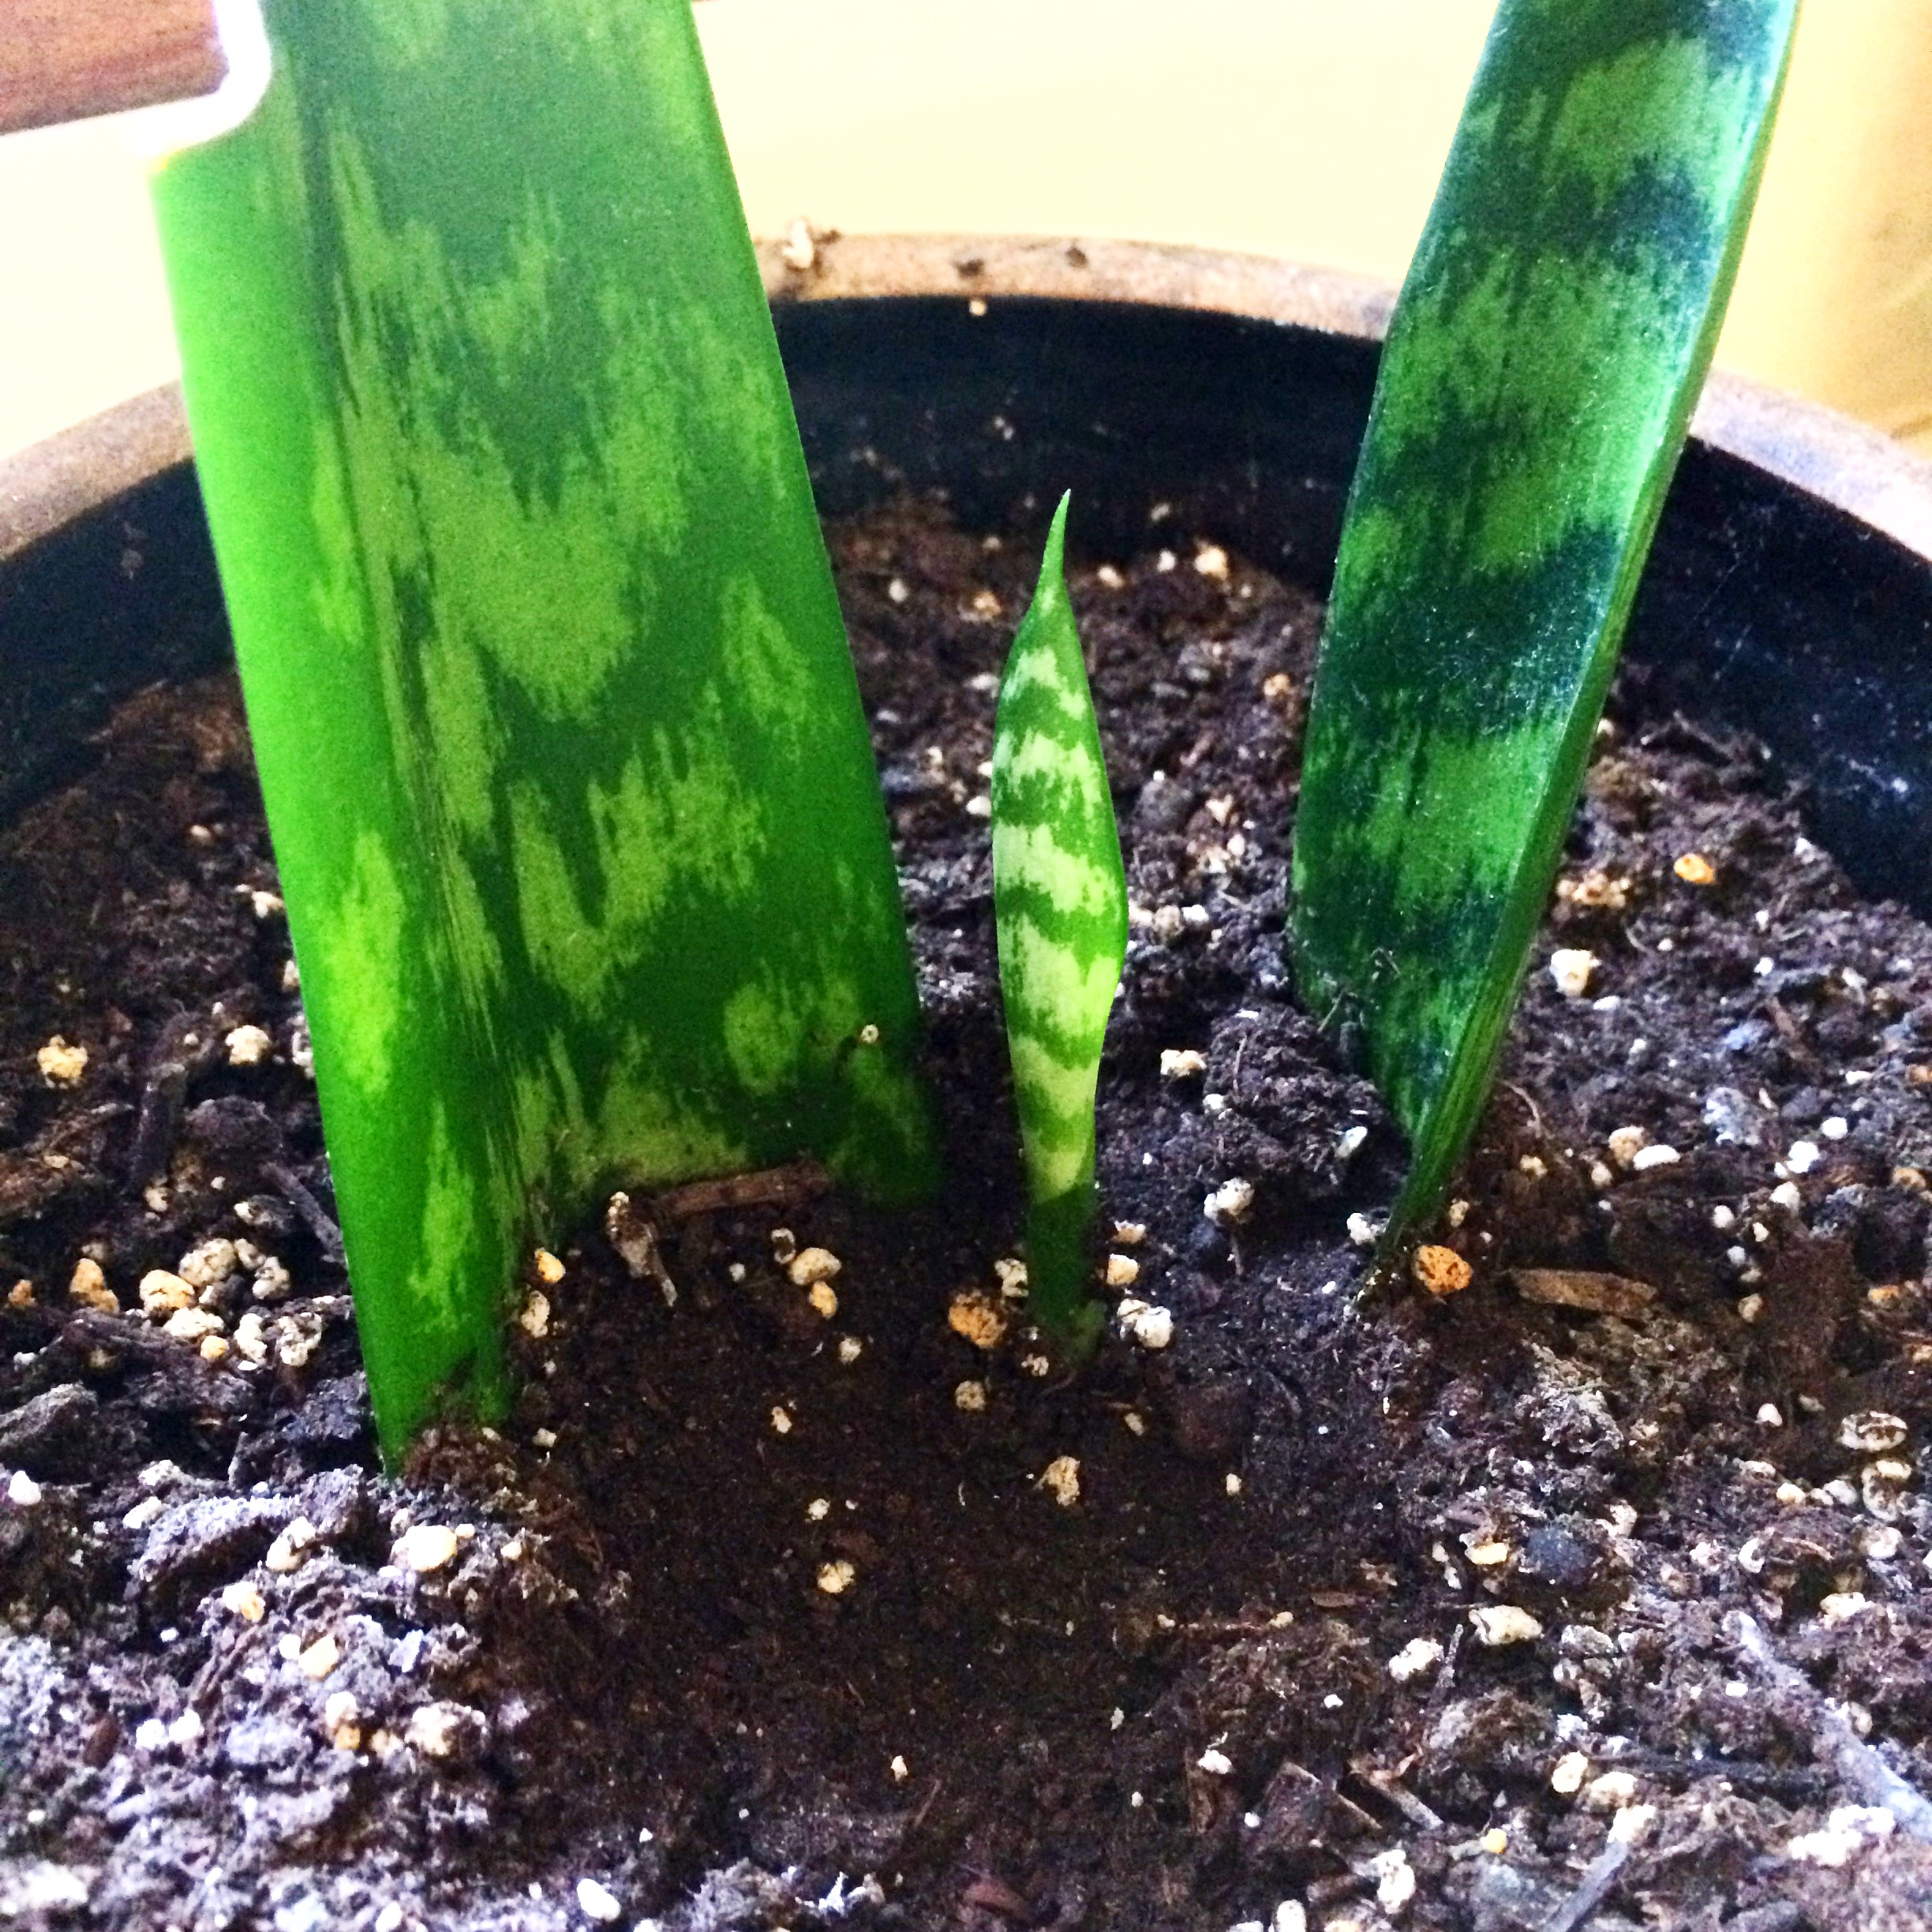
Gently dig up the roots and plant in normal potting soil. A new plant will begin to grow from a newly formed rhizome and pop up through the soil. Snake plants are slow growers, so this might take a while.
Don’t worry if your cutting dies instead of takes root. It happens. Below is a picture of a not very successful round of propagation. Don’t sweat it.
Two of seven rooted. It is pretty obvious which ones have roots!
The roots grow right out of where you cut the plant! The white thing on the bottom of the pointy leaf is a new rhizome. This will grow under the soil, then produce a new plant.
This is the little baby plant that is growing from the rhizome above.
Discussion
There is SO MUCH science going on here, it’s crazy. I’ll go through some highlights.
This is an asexual process so your new plant and old plant will have the same DNA. Propagation through cuttings is a form of plant cloning. I think this is what they did with Groot in Guardians of the Galaxy II 😉
You want the medium that you put the cuttings into to be non-nutritive to discourage pathogen growth. I’ve also read that you don’t want the plant to take up any nutrients to discourage leaf growth and encourage root growth (so it’ll send roots out searching for more nutritive soil).
You want the cutting to be big enough that it can still get some energy from photosynthesis, but small enough that it’s stressed to encourage root growth. Four to six inches seems to be the sweet spot for snake plants.
Rooting hormone! Although many plants may still root without it, using rooting hormone will up your chances of success. Most commercial rooting hormones are indole-3-butyric acid.
Hormones are molecules that cells and tissues use to communicate. In this case, it signals plants to grow roots.
Stem cells (not talking about cells in the stem of plants, confusing, I know) are special cells that can form other types of cells. The process of a stem cell becoming a specific type of cell is called differentiation. Plants, humans, and all animals began from stem cells differentiating. In the stems of plants, there are partially differentiated stem cells (Stem cells in stems! They couldn’t think of a different word here?!) that when stimulated, will start differentiating down the path to create more root cells. The injury from cutting the plant is stimulus enough to start this process, but you can help it along by using rooting hormone.
For Kids
We all know the “seed in a ziplock bag in the window” project to begin to teach kids about plants, but there are so many other educational and fulfilling projects to do with them. Having them join in with typical houseplant or garden chores is a great way to teach them about plants, responsibility, and pride in your work (and also handling frustration when 80% of your cuttings die). It is also a great way to encourage a love and appreciation of plants, and to fight plant blindness! Snake plants are a great place to start because they are easy to propagate and hard to kill.
For this project, you want to make sure your child knows the main parts of a plant (roots, stem, leaves). It can be as simple as:
Roots get nutrients from the soil
Leaves make energy (carbohydrates) from sunlight through photosynthesis
Stems help deliver nutrients and carbohydrates throughout the plant.
The snake plant is a little confusing because the stem isn’t obvious, but it’s good to learn about the vast variation in plant life.
Depending on their age and science background, you can introduce some of the concepts above, like stem cells or how cells use molecules (the rooting hormone) to communicate. This is an easy yet powerful project that highlights some key concepts about plants and life.