

Have you heard of milk plastic before? Not only is it a project you can do with kids, but it’s also how they made many plastics before the advent of synthetic plastics! Many of those old buttons in a jar you have from your grandma are probably milk plastic (actually called casein plastic, Galalith, or Erinoid). They have a beautiful marbled or tortoise shell look, and are often pastel colored or two toned. The milk plastic you will make with this project won’t be exactly the same as the old casein plastics, the main difference being a pretty toxic step where you would need to wash and harden the plastic with a formaldehyde solution. That’s not something kid-friendly, soooo crumbly squishy curds it is!
This is a very easy project. All you need is milk, vinegar, and some basic household items.
My 3-year-old daughter had a lot of fun doing this as a craft project. If you want to bring some biochemistry into craft time, I’ve included explanations about the science behind each step below the tutorial and also some ideas on how to turn this from a project to an experiment.
Materials
- measuring cups/ measuring spoons
- 1 cup cow milk (we used 2%, but try whatever you have)
- 4 tsp vinegar
- A way to heat the milk (microwave, stovetop)
- bowl
- spoon
- tea towel/ paper towels
- strainer (optional)
- cookie cutter/ mold (optional)
Method
- Measure 1 cup of milk into a bowl. This amount will make enough dough to make a 5 inch long apatosaurus. Feel free to use more, just scale up the vinegar amount too. (If you want to use, say, two cups of milk, this would be a good chance to ask your kid(s) to help you do the math to calculate how much vinegar you should use. (Answer=8 tsp))
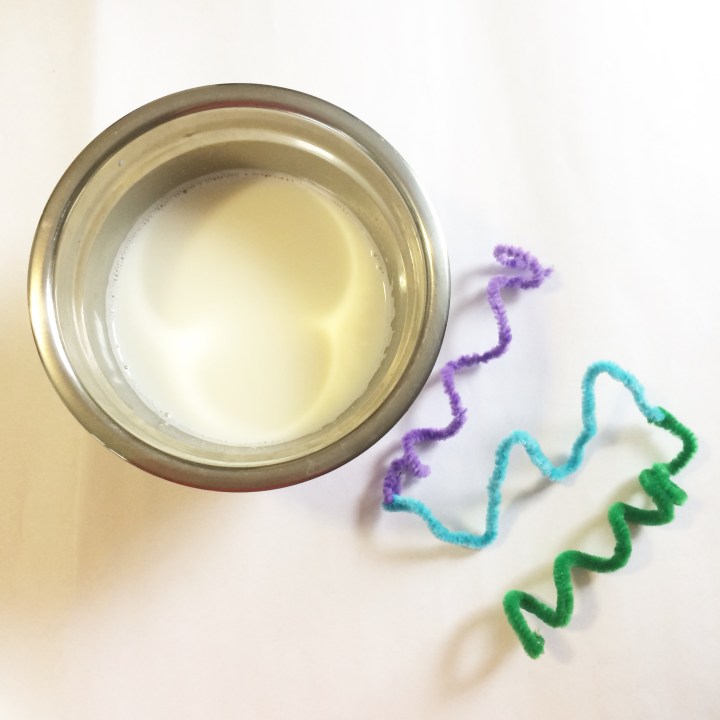
- Heat the milk till steaming. It should be just hot enough that it would hurt a little to sip. (Add food coloring if you want to try to tint your plastic.)

Step 4 - Add the vinegar. Since the milk is hot and vinegar is an acid, supervise your kid while they do this.
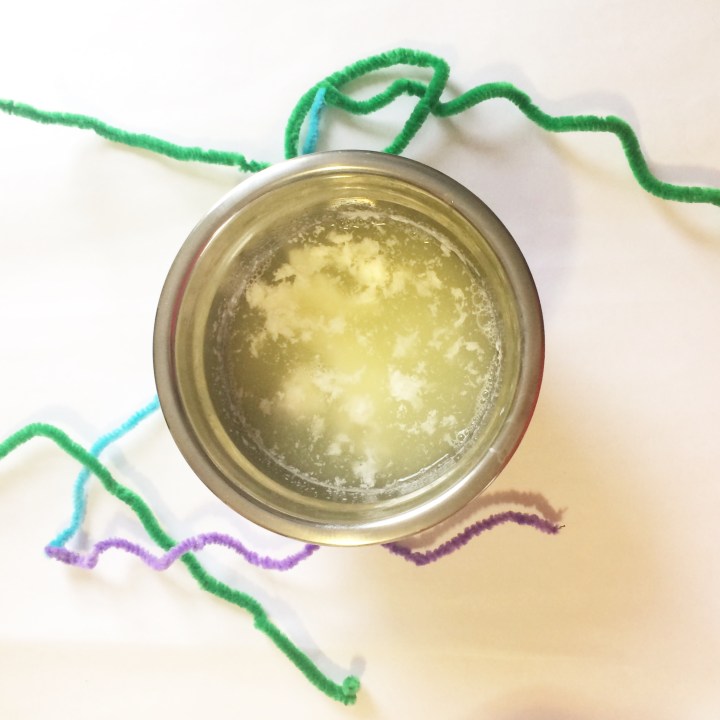
- Gently stir until the milk solids clump up, about 1 minute. (see picture to the right, and in the discussion section below).
- At this point you can strain the clumps (called the curd) from the liquid (called the whey), but I just reached my hand in and grabbed the clump of curds and squeezed it.
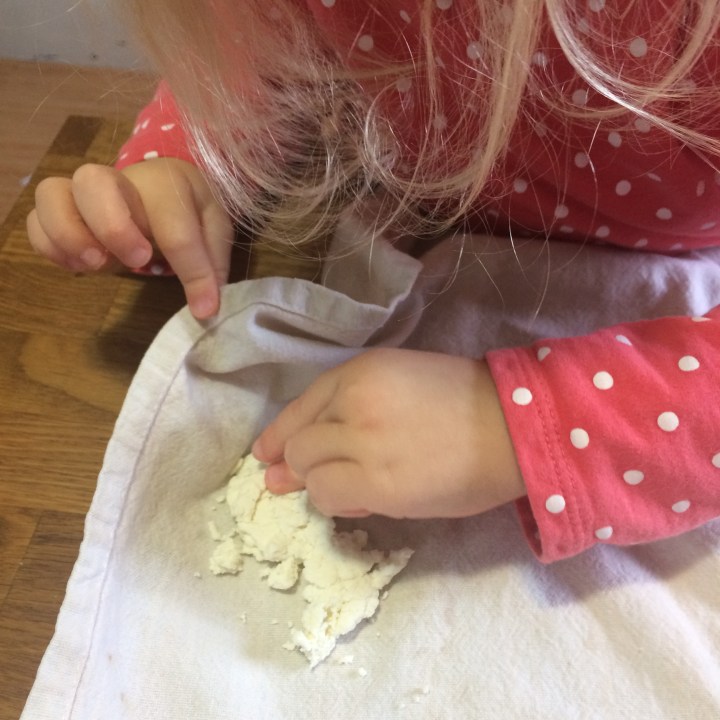
- Thoroughly pat and press the curds dry with a tea towel.

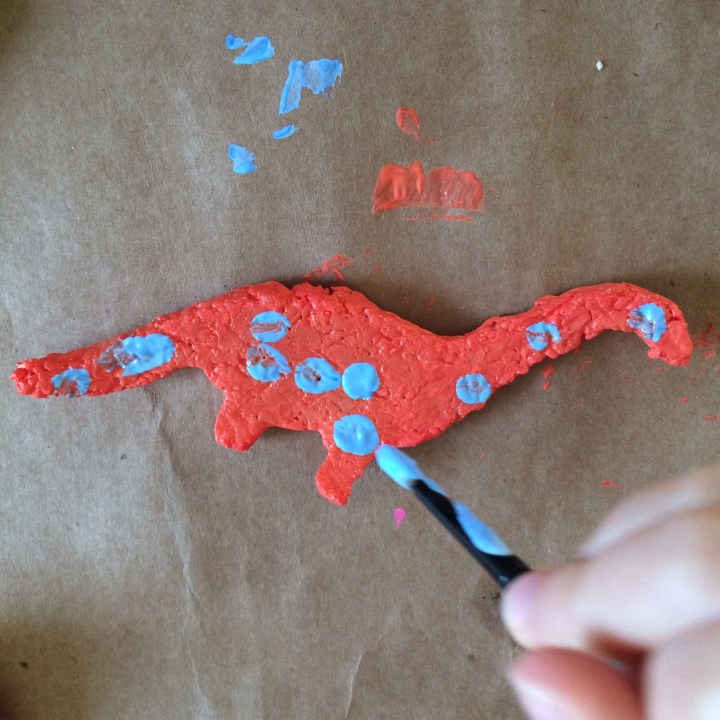
Step 7 - Mold into what ever shape you want. Ours was crumbly so we pressed it into a cookie cutter, but I’ve seen other tutorials where they have been able to roll it or mold it by hand.
- Let dry for at least two days.
- Then paint! (you can sand it down to make it smoother, if you care…which we didn’t.)

Discussion
Milk is made of mostly proteins, fat, and water. In this project, the protein in milk (mainly one called casein) reacts with the vinegar to form the curds. Proteins are made of linked small molecules called amino acids. The amino acids on the chain interact with each other, sort of like magnets or how a balloon rubbed on your hair will stick to the wall, and can make the chain fold into a 3D shape, which forms the functional protein. See the pipe cleaner in the picture below. That’s kind of what a protein looks like, though it’s much bigger than a protein (proteins are much smaller than cells and bacteria, and are in fact some of the building blocks and worker molecules of cells). If that pipe cleaner was a protein, interactions between atoms in the purple part of the protein would make it curl into that helix shape, then atoms on the outside of the helix would interact with the blue part of the protein to make it fold into that 3D shape, and so on for the green part. Just like how you can pick up that pipe cleaner and it would stay folded, a protein also stays folded as it hangs out in your cell.

The next step is heating the milk. Heating destabilizes the proteins in two ways. One, to melt the fat, which was stabilizing the casein proteins (see this post for more info), and two, to destabilize the protein structure itself. Heating makes molecules shake and wiggle. If they are shaking and wiggling, the atoms in the protein have trouble interacting which causes some proteins to unfold. See the picture below.
The next step is to add vinegar. Vinegar is an acid, which means it is a source of protons (hydrogen ions). Protons can stick to certain parts of proteins, changing the way the various parts will interact with each other. This causes them to unfold even more. The unfolding exposes parts of the protein that are hydrophobic (meaning they do not want to be surrounded by water). The hydrophobic parts from one protein will stick to the hydrophobic parts of other proteins so they can avoid water, causing them all to clump together. You can see this starting to happen in both the pipe cleaner proteins, and in the bowl of milk and vinegar.
As you keep stirring, the curds will eventually all clump up. So now you know the curds are actually proteins all clumped together because you destabilized their normal structure with heat and acid. This is called denaturing a protein.
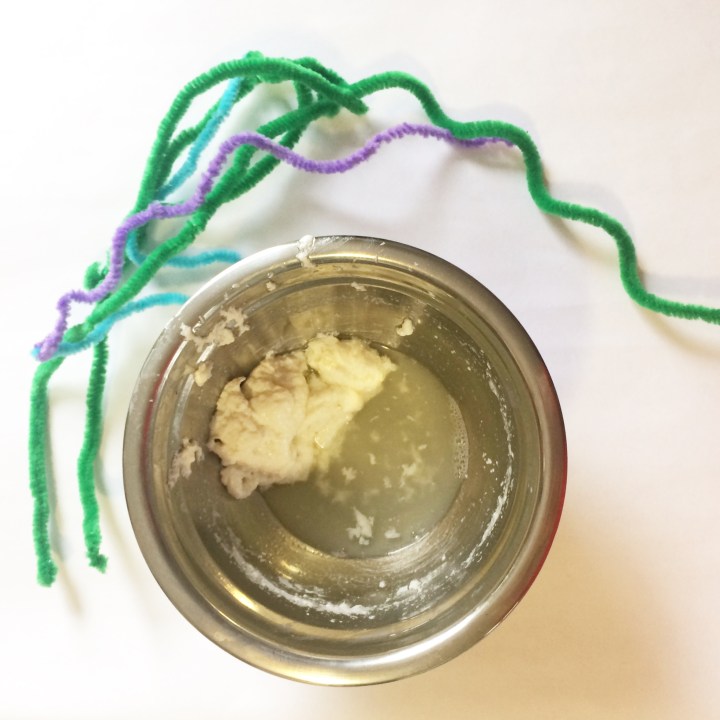
The next step is to dry it out. Here (below) you can see the clumps starting to come apart. This is because not all the clumped, denatured proteins are stuck together strongly. That is where the formaldehyde/water solution (called formalin) washing step occurs during the industrial process of making milk plastic. Formaldehyde is a protein “crosslinking” agent (that’s why it is so bad to get on your skin). If you crosslink two proteins, they become one large molecule. This is in contrast to the proteins just clumping together in the “at home” version of milk plastic, where they are still separate molecules, just stuck together like magnets or even glue. The result of formaldehyde crosslinking of the milk curds is a much stronger and smoother dough. It still doesn’t mold as well as modern day plastics however, so disks, sheets, or rods were made and then the shape was cut and machined as necessary.
Turning this into an Experiment
So to make this an experiment, where you try to answer a question by varying a condition of the system, try these questions!
- Does the percent fat of the milk make a difference in the final product?
- You can make the plastic from skim, 2%, whole, and cream. Compare what they feel and look like, how well they mold, etc.
- Does the amount of vinegar you add affect the final product?
- Try varying the amount of vinegar. Compare the touch and feel of the plastic and dried product.
- Try collecting all the curds of each trial by straining the whey through a paper towel, then weighing the amount of curds you produce. Compare the results to see how much vinegar you need to produce the largest amount of curd.
- Can you curdle the milk with other (relatively safe) acids, like lemon juice, orange juice, or apple juice? What about a base (which takes, instead of gives protons), like baking soda?
Let me know if you try this out! Tag us on social media and include the hashtag #IBravedTheElements in your post!
If you want to teach your kids more about proteins, check out my book The Baby Biochemist: Proteins (Volume 3).

xoxo
Cara


Nicee blog thanks for posting
LikeLike