

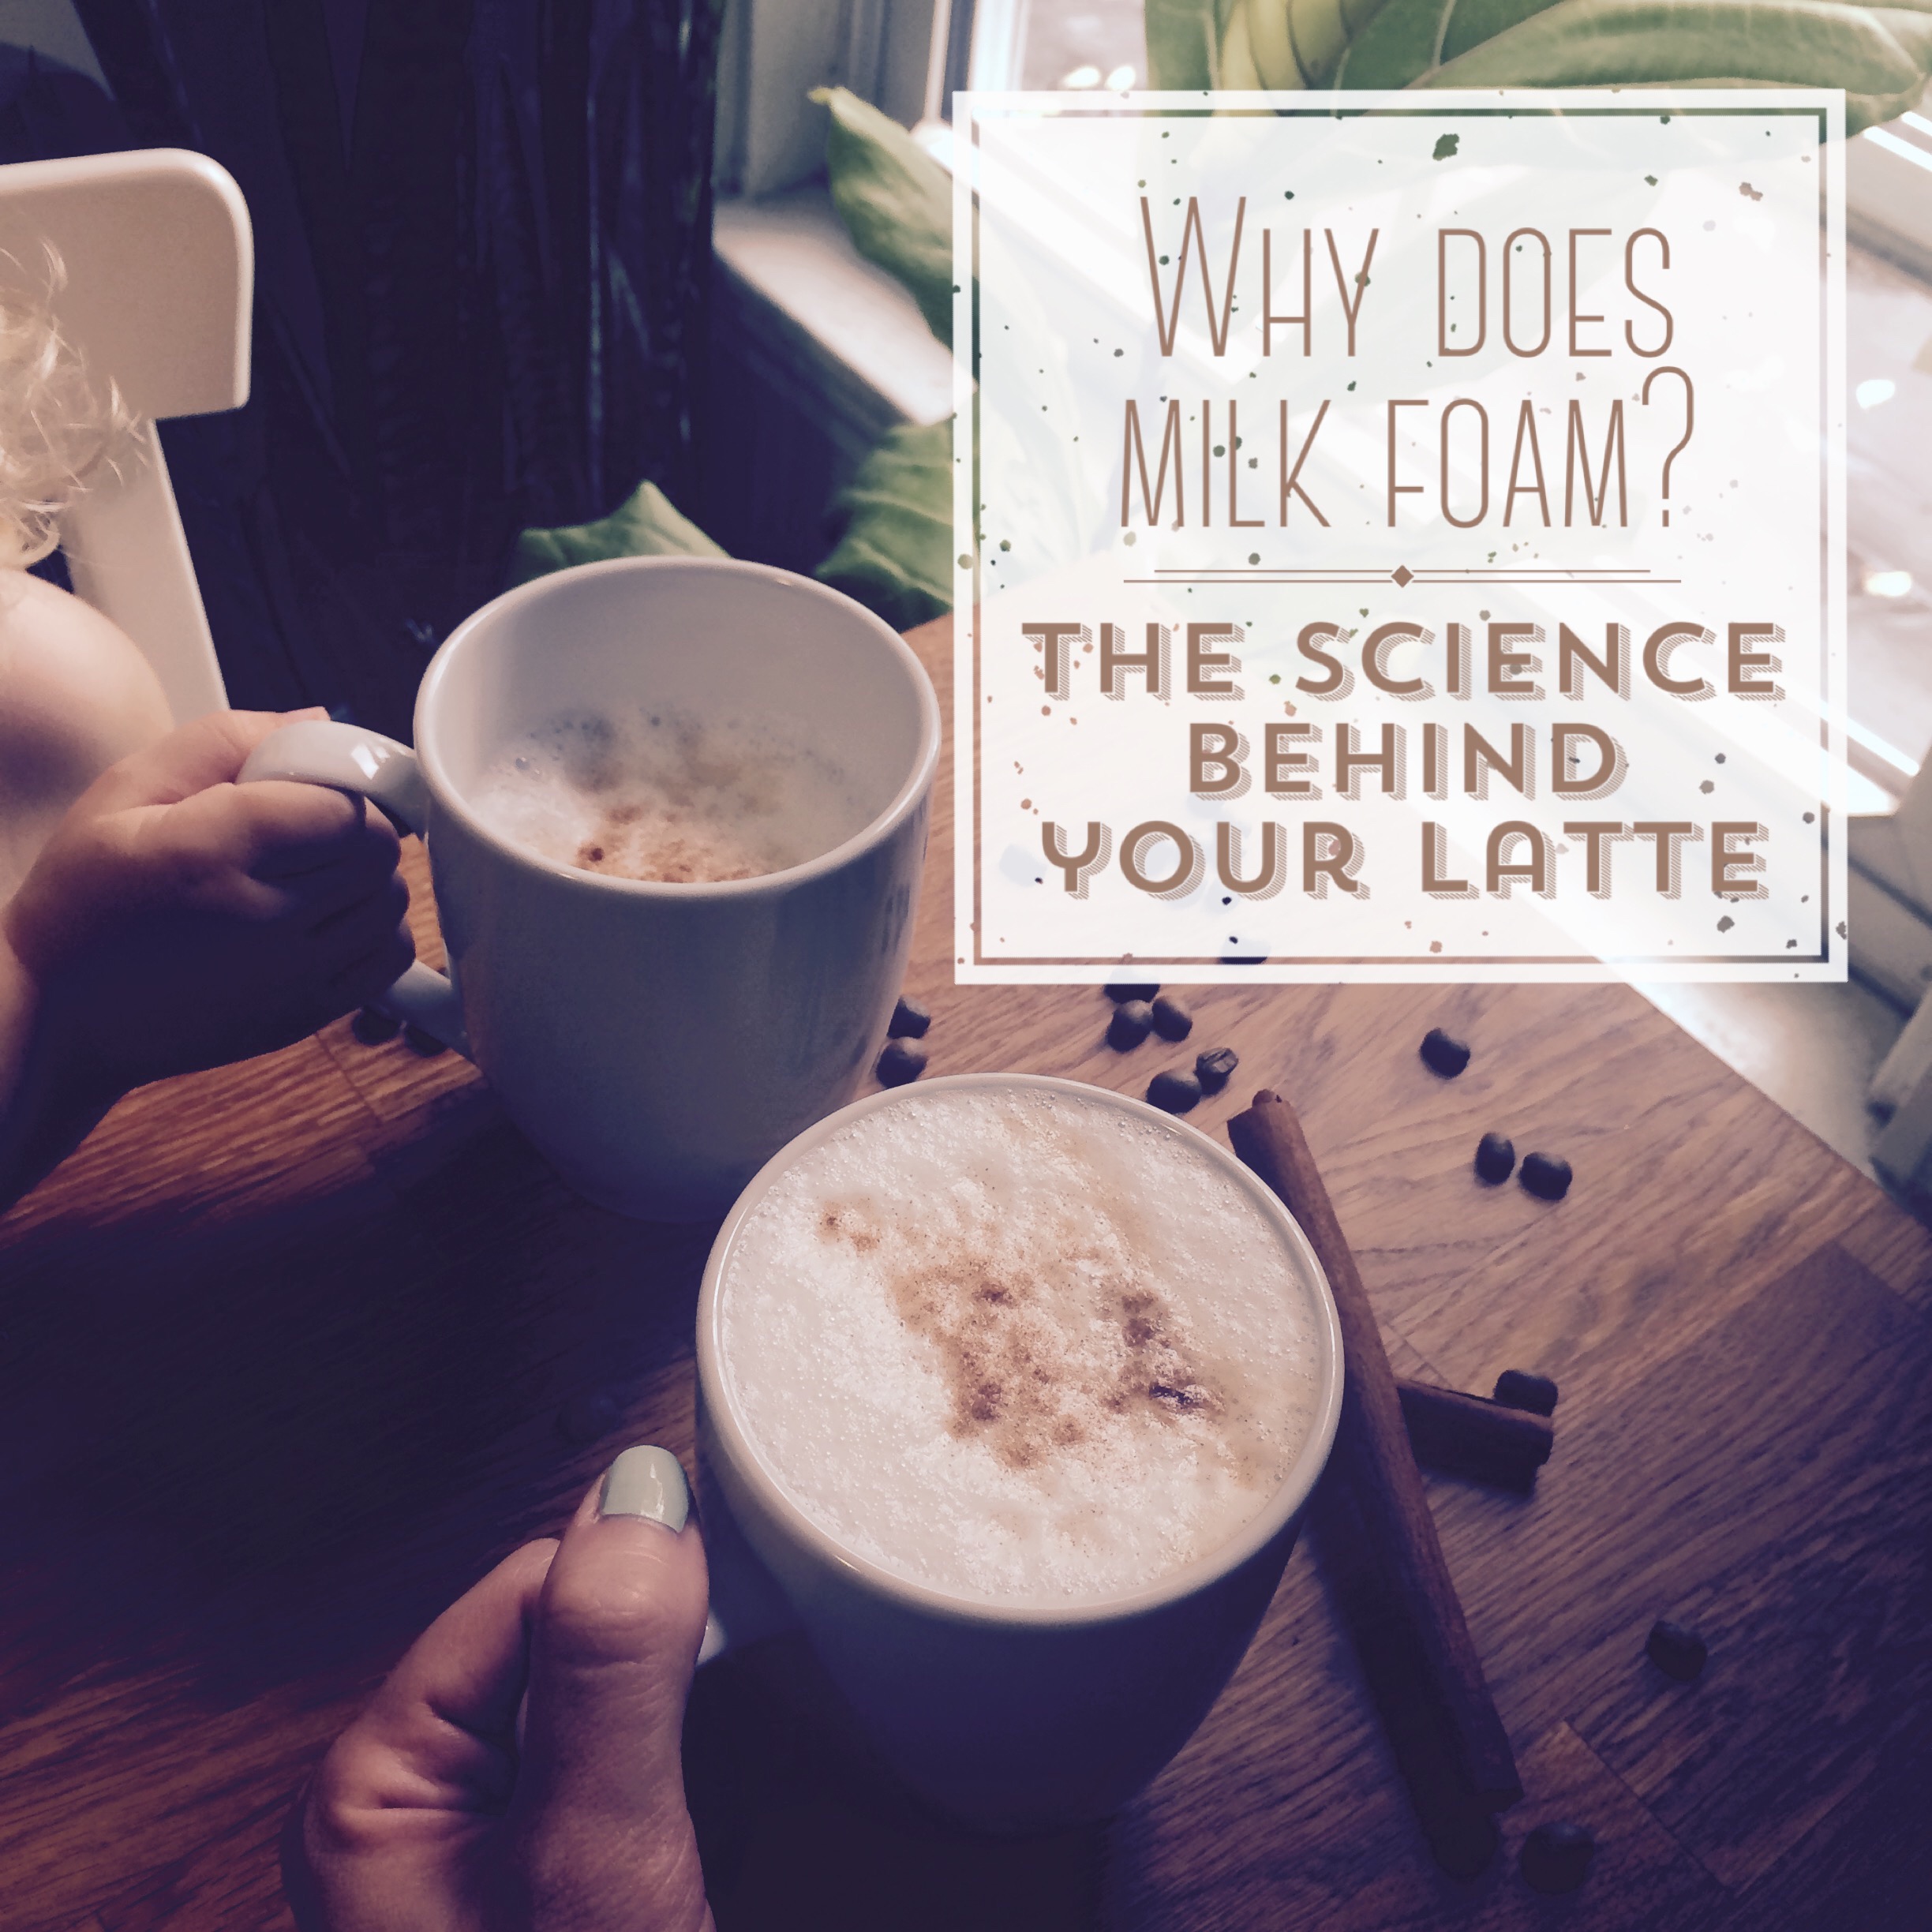
The Science of Milk Foam
Milk is a colloid. Colloids are one state of matter (gas, liquid, or solid) suspended in another state of matter (gas, liquid, or solid). Emulsions are a type of colloid where droplets of one liquid are evenly and stably mixed into another liquid. The droplets however are so tiny that we can’t see them, so it looks like a continuous liquid. Milk is an example of an emulsion, where fat droplets are stabilized by proteins and suspended in water. The water itself also has a number of other proteins, minerals, and carbohydrates dissolved in it.
A foam is another type of colloid, where gas is suspended in a liquid or solid, which is the case when you froth or steam milk.
When you want milk to foam for coffee, you heat it, then introduce air through whipping or through the steaming process, itself. The interplay between the components of milk (proteins and fats, mainly) and this heating process will affect what your foam looks and tastes like.
As the air is introduced, the proteins in the milk, mainly one called casein, will form spheres around the air and stabilize the bubble. Though milks will foam without heat (imagine a kid blowing bubbles in milk with a straw), the steaming process further stabilizes the bubbles in the foam through melting the fat droplets and allows for a better final texture through much smaller bubbles. If you heat the milk too much, the proteins will start to unwind (the proper word is “denature”), clump together, and not be able to stabilize the air bubbles. It’s all about balance.
To get more technical, casein proteins in the milk arrange around the air/water interface and stabilize the bubbles. The fat in the milk destabilizes the bubbles by disrupting that protein layer, but without it, your foam will be dry. Also, if you’re using the foam in coffee, the fat helps deliver some of the coffee flavor. It’s a lovely balance of variables that is fun to play around with to discover the tastes and mouthfeel you enjoy.
Foaming milk may seem pretty complicated, and really, to get a perfect milk/espresso drink is difficult without skill and proper equipment (that’s why we pay for good baristas, after all), but you can approximate this process easily at home. After you do it several times, slightly adjusting things like heating or your frothing process with each iteration, it will be so fulfilling to finally figure out the combination of bubble size, fat content, froth amount, coffee amount, etc. that you like the best. There is no wrong answer.
If you want to go even MORE into the science behind milk foam, check out the video at the bottom of the post where Them Huppertz, a principal scientist at NIZO Food Research, goes into incredible detail about this fascinating system.
Enjoy it at home
If you want to make coffee drinks yourself, there are tons of different ways to make espresso- from fancy machines to just using strong espresso grounds in your drip coffee maker. Whichever you chose will depend on your financial situation and how much you care about coffee.
Espresso at Home
There are several ways to make genuine espresso at home with lots of options for most price ranges. Here is what we have tried:

We have the De’Longhi La Specialista and couldn’t be happier. It’s very easy to use and makes great espresso. It was a little of a splurge for us, but it has gotten more than enough use over the two years we have had it so far. It has a built-in milk steamer and the model we have has two settings for getting a smooth steamed milk and a foam-y steamed milk.
Electric Whisks
Electric whisks will froth milk and are significantly cheaper. They do not make the foam as silky as a professional steamer would, but it gets the job done. To use this one, you should heat the milk so your bubbles will last longer. How hot you heat it will depend on what you prefer, so try different temperatures. When I had one of these, I put about a cup of milk in a large mug for 1.5 minutes in the microwave. Some people like it hotter, some colder. After heating, just use this whisk for 15-20 seconds, and you will have foam! Here is a quick video from America’s Test Kitchen for this technique.
Jars
Yup, you can just heat milk, then put it in a mason jar or some other sealable container and shake it. Done!
Frothed Milk Recipes for Kids
To bring your kids into this (because mine LOVE steamed milk) here are some kid friendly drink ideas you can easily make along side your caffeinated version so you can find another excuse to cuddle up this season with your little ones.
- Add orange zest for a hint of creamsicle
- Add a spoonful of pumpkin puree, some cinnamon, and maybe some honey
- Add some cocoa powder and sugar for a thick hot chocolate
- Add turmeric for yellow milk (this stains if it spills!! But my daughter loves it.)
Depending on the age of your kid, you can discuss the science of the process with them, too! If they are curious about proteins and what they are, try reading our book about proteins for kids, The Baby Biochemist: Proteins . For a demonstration, you can compare milk to water, for example asking them “Do you think water would foam up like our milk just did?” and use their answer for a quick experiment (try frothing water) and discuss what is in milk that isn’t in water.
I hope you enjoy a nice latte and a little dive into some kitchen chemistry today!
Sources:
2.
4. Observations on the Air-Serum Interface of Milk Foams


4 thoughts on “Why does milk foam? The science behind your latte.”