Have you heard of milk plastic before? Not only is it a project you can do with kids, but it’s also how they made many plastics before the advent of synthetic plastics! Many of those old buttons in a jar you have from your grandma are probably milk plastic (actually called casein plastic, Galalith, or Erinoid). They have a beautiful marbled or tortoise shell look, and are often pastel colored or two toned. The milk plastic you will make with this project won’t be exactly the same as the old casein plastics, the main difference being a pretty toxic step where you would need to wash and harden the plastic with a formaldehyde solution. That’s not something kid-friendly, soooo crumbly squishy curds it is!
This is a very easy project. All you need is milk, vinegar, and some basic household items.
Get ready for an incredibly simple set up with an incredibly entertaining result. You won’t believe how easy it is to make your own color changing paint with just two ingredients: red cabbage and white paint (and honestly, you can leave out the white paint and it still works, just more like water colors). Red cabbage has a huge amount of the highly pigmented group of molecules called anthocyanins. Widely known for their antioxidant capacity, these molecules also have the amazing ability to change color when exposed to a pH change. Read on for the method to make your own color changing paint and a little science lesson below!
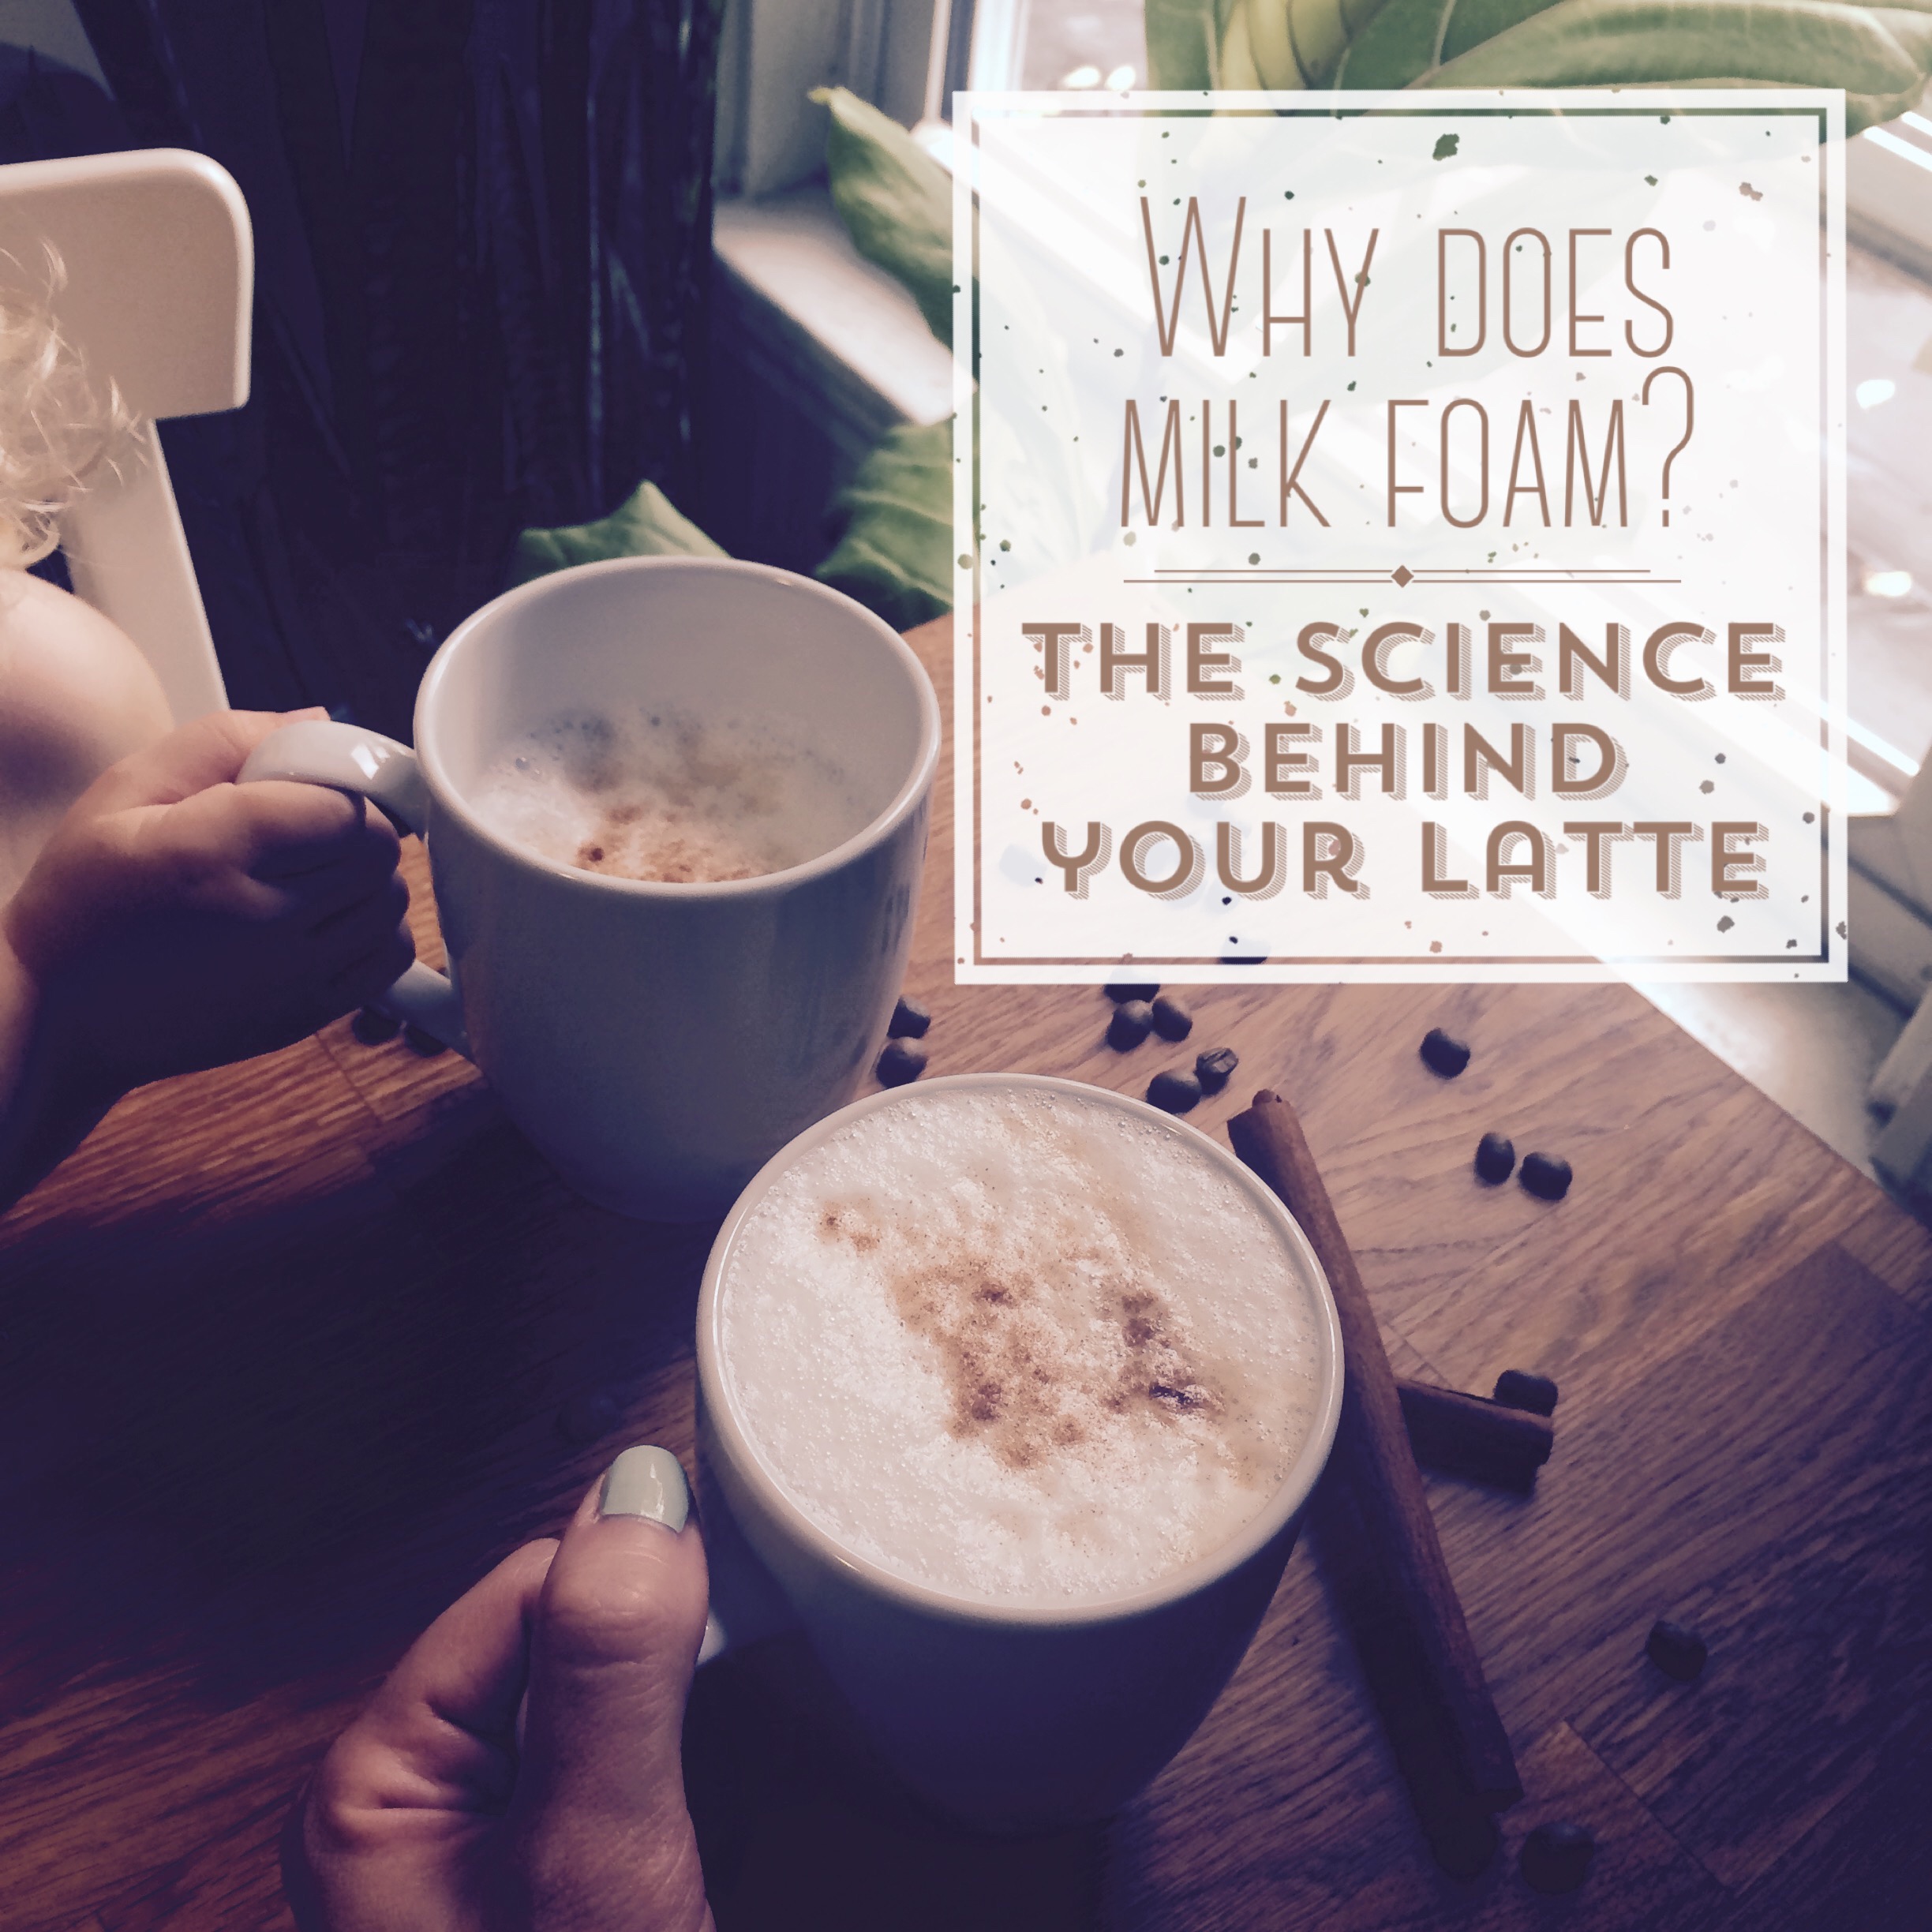
Milk is a colloid. Colloids are one state of matter (gas, liquid, or solid) suspended in another state of matter (gas, liquid, or solid). Emulsions are a type of colloid where droplets of one liquid are evenly and stably mixed into another liquid. The droplets however are so tiny that we can’t see them, so it looks like a continuous liquid. Milk is an example of an emulsion, where fat droplets are stabilized by proteins and suspended in water. The water itself also has a number of other proteins, minerals, and carbohydrates dissolved in it.
A foam is another type of colloid, where gas is suspended in a liquid or solid, which is the case when you froth or steam milk.
When you want milk to foam for coffee, you heat it, then introduce air through whipping or through the steaming process, itself. The interplay between the components of milk (proteins and fats, mainly) and this heating process will affect what your foam looks and tastes like.
As the air is introduced, the proteins in the milk, mainly one called casein, will form spheres around the air and stabilize the bubble. Though milks will foam without heat (imagine a kid blowing bubbles in milk with a straw), the steaming process further stabilizes the bubbles in the foam through melting the fat droplets and allows for a better final texture through much smaller bubbles. If you heat the milk too much, the proteins will start to unwind (the proper word is “denature”), clump together, and not be able to stabilize the air bubbles. It’s all about balance.
To get more technical, casein proteins in the milk arrange around the air/water interface and stabilize the bubbles. The fat in the milk destabilizes the bubbles by disrupting that protein layer, but without it, your foam will be dry. Also, if you’re using the foam in coffee, the fat helps deliver some of the coffee flavor. It’s a lovely balance of variables that is fun to play around with to discover the tastes and mouthfeel you enjoy.
Foaming milk may seem pretty complicated, and really, to get a perfect milk/espresso drink is difficult without skill and proper equipment (that’s why we pay for good baristas, after all), but you can approximate this process easily at home. After you do it several times, slightly adjusting things like heating or your frothing process with each iteration, it will be so fulfilling to finally figure out the combination of bubble size, fat content, froth amount, coffee amount, etc. that you like the best. There is no wrong answer.
If you want to go even MORE into the science behind milk foam, check out the video at the bottom of the post where Them Huppertz, a principal scientist at NIZO Food Research, goes into incredible detail about this fascinating system.
Enjoy it at home
If you want to make coffee drinks yourself, there are tons of different ways to make espresso- from fancy machines to just using strong espresso grounds in your drip coffee maker. Whichever you chose will depend on your financial situation and how much you care about coffee.
Espresso at Home
There are several ways to make genuine espresso at home with lots of options for most price ranges. Here is what we have tried:
We have the De’Longhi La Specialista and couldn’t be happier. It’s very easy to use and makes great espresso. It was a little of a splurge for us, but it has gotten more than enough use over the two years we have had it so far. It has a built-in milk steamer and the model we have has two settings for getting a smooth steamed milk and a foam-y steamed milk.
Electric Whisks
Electric whisks will froth milk and are significantly cheaper. They do not make the foam as silky as a professional steamer would, but it gets the job done. To use this one, you should heat the milk so your bubbles will last longer. How hot you heat it will depend on what you prefer, so try different temperatures. When I had one of these, I put about a cup of milk in a large mug for 1.5 minutes in the microwave. Some people like it hotter, some colder. After heating, just use this whisk for 15-20 seconds, and you will have foam! Here is a quick video from America’s Test Kitchen for this technique.
Jars
Yup, you can just heat milk, then put it in a mason jar or some other sealable container and shake it. Done!
Frothed Milk Recipes for Kids
To bring your kids into this (because mine LOVE steamed milk) here are some kid friendly drink ideas you can easily make along side your caffeinated version so you can find another excuse to cuddle up this season with your little ones.
Add orange zest for a hint of creamsicle
Add a spoonful of pumpkin puree, some cinnamon, and maybe some honey
Add some cocoa powder and sugar for a thick hot chocolate
Add turmeric for yellow milk (this stains if it spills!! But my daughter loves it.)
Depending on the age of your kid, you can discuss the science of the process with them, too! If they are curious about proteins and what they are, try reading our book about proteins for kids, The Baby Biochemist: Proteins . For a demonstration, you can compare milk to water, for example asking them “Do you think water would foam up like our milk just did?” and use their answer for a quick experiment (try frothing water) and discuss what is in milk that isn’t in water.
I hope you enjoy a nice latte and a little dive into some kitchen chemistry today!
This post is part of our Summer of Science series! Check back periodically to find more fun, easy, and affordable experiments and projects you can do at home with your kids this summer. This project is about the enzyme, bromelain, which degrades other proteins. You will use it to turn chicken to mush while learning about experimental set up, controls, and the wonderful world of enzymes.
Oh, the first time I learned about bromelain was in college on a trip to Hawaii (I got a chance to observe Mars on the NASA IRTF on Mauna Kea). My friends and I flew there a week earlier than our telescope time to explore the islands a bit. One day, we each bought a fresh pineapple and each ate. the. whole. thing. Never do this, it was awful. I mean it tasted absolutely delicious, but our tongues and mouths were sloughing skin off for a few days as they recovered from being eaten themselves by the enzyme, bromelain.
Pineapple fruit has a very high concentration of fruit bromelain, a protein that can break down other proteins, aka a “proteolytic enzyme”.
This post is part of our 2017 Summer of Science series! Here you’ll find quick and easy projects and experiments you can do this summer to keep your kids’ brains active and curious! As always, you can go as much or as little into the science explained below based on age and interest. Enjoy!
This project actually came about kind of by accident, but honestly that’s how lots of science discovery happens! I was washing the extract of turmeric from a bowl in my sink (we were making dye for tie-dye!) and realized the color changed from bright yellow to brownish-red when I added water. I googled the color change and found that curcumin, the main compound responsible for turmeric’s color, will turn red in solutions with pH greater than 7.5. I took out my (real) pH strips and clocked the pH of my tap water at 9. After making sure that it’s not big deal to drink pH 9 tap water, I decided to see if we could make some pH strips with the turmeric extract, and it worked splendidly!
This post is part of a series on chlorophyll! Check out our previous post about how to easily extract chlorophyll from spinach and use it as a paint. Using a black light, you can also observe the beautiful red/pink fluorescence of chlorophyll, too! This post is how to further purify chlorophyll through a technique called liquid-liquid extraction or solvent extraction. Don’t be intimidated by the name! You are totally capable. This can be done with common, inexpensive things from your kitchen and it’s a great way to learn about solubility, polarity, and the way chemists approach problems. Younger kids will not grasp the concepts of polarity and solubility, but they can track the location of chlorophyll throughout the experiment (through color) to begin to learn about these concepts.
This tutorial is written for the parent or educator. There is a section called “A quick science lesson” to help give you a background to present this to a class or your kids. You can go as little or as much into the details as you want, so this project can be done with a large age range of kids.
This is a quick easy science project you can do with children of all ages. You can make it very simple for young ones, or more complex for older children. In this project, you crush flower petals with a household solvent, then separate the colorful components of the petals using paper chromatography.
This post is part of a series on chlorophyll, a molecule both plants and humans owe their lives to! This specific activity is a fun, easy, and art-inspired introduction to chlorophyll for children 2 years old and up where we will make paint from the chlorophyll in spinach leaves, then observe the fluorescence of the chlorophyll artwork with a black light! If you can paint, and not eat the paint, this activity is for you!